Soap Making for Beginners: A Melt-and-Pour Quick Guide
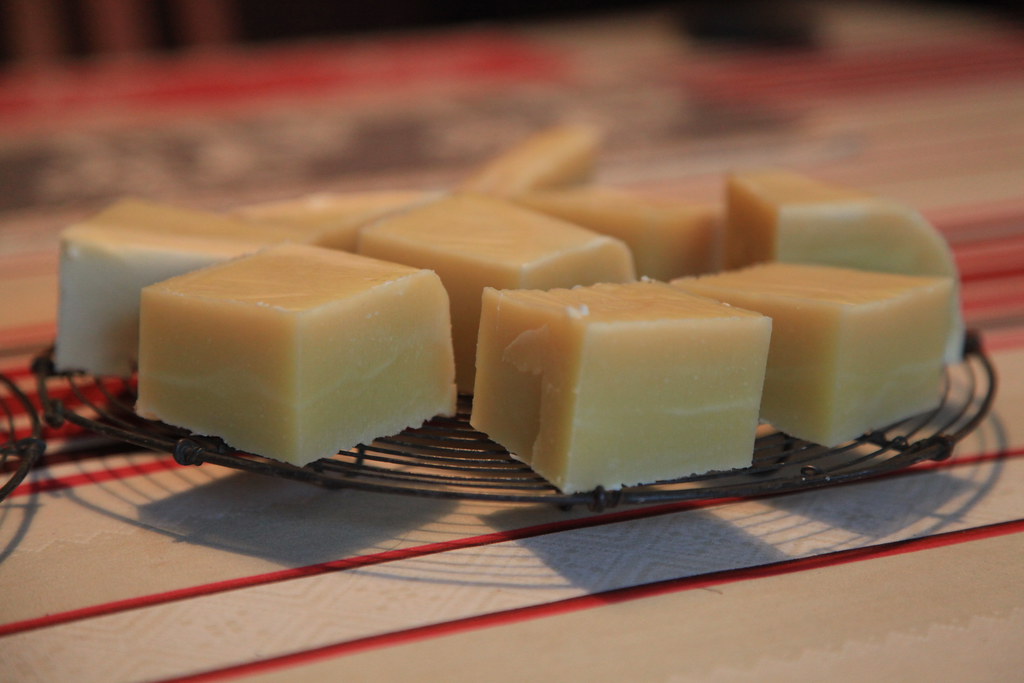
Soap making for beginners is easiest to approach with a ready-made melt-and-pour base. You melt the base, pour it into a suitable mold, and let it harden. An unscented first batch lets you learn the handling process before adding fragrance, color, or complicated designs.
How soap making for beginners differs by method
Melt-and-pour uses an already manufactured base. Cold-process and hot-process methods involve making soap from fats and an alkali. They require different equipment, calculations, and chemical-handling precautions; their recipes and timings are not interchangeable.
Understand what “no lye handling” means
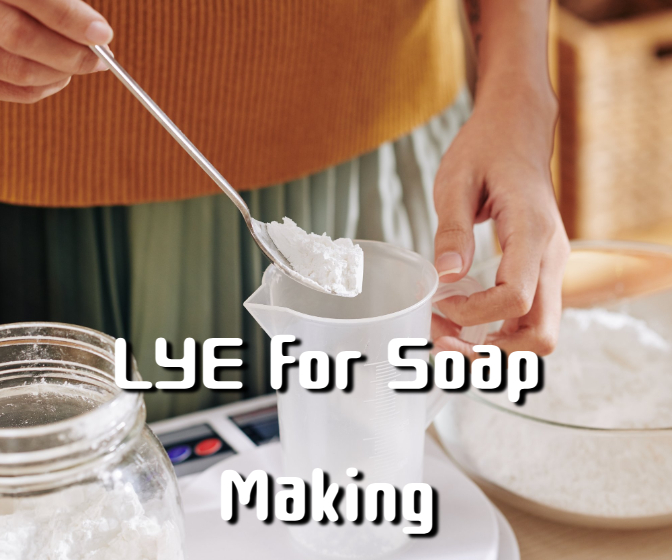
The Handcrafted Soap and Cosmetic Guild’s introduction explains that melt-and-pour starts with an already saponified base. You do not measure or mix caustic lye yourself. That does not mean traditional soap was manufactured without an alkali.
The base is also formulated to melt again. An ordinary bar of bathroom soap is not a direct substitute. Check that the packaging specifically identifies the product as a melt-and-pour base.
Keep the first project simple
Choose one plain base and a simple silicone soap mold. Avoid fresh fruit, milk from the refrigerator, loose decorations, or extra oils in the first batch. Changing a prepared formula can affect its stability and performance.
Our easy crafts for beginners guide uses the same preparation principle: complete one straightforward version before buying supplies for several variations. Here, the first useful result is a cleanly molded bar with a repeatable batch record.
Soap making for beginners: essential equipment
Use a scale, a suitable heating container, a stirring tool, a thermometer if required by the base instructions, and a heat-rated mold. A clear workspace matters because the melted base and its container can cause burns.
Prepare the workspace
- Protect a stable counter and keep children and pets away from hot materials.
- Use a container rated for your chosen heating method.
- Keep tools used for fragrance or color separate from food preparation.
- Read the base’s processing instructions before opening the package.
- Have the mold ready before heating begins.
Soap making for beginners should include the cooling area in the setup. Moving a filled flexible mold can spill hot soap or distort the bars. Put it on a stable tray before pouring if it needs support.
Weigh a manageable batch
For an illustrative first batch, weigh 500 grams of plain base. If divided evenly into five suitable cavities, that gives approximately 100 grams per bar before handling losses. This is a calculation, not a guaranteed yield: mold capacity and residue in the jug affect the result.
Record the base name, lot number, starting weight, heating method, and finished bar weights. Those details are more useful for repeating a successful batch than remembering that you used “about half a packet.”
Make the first batch in five stages
Follow the instructions for the exact base you bought. Microwave power, batch size, and formulation change heating behavior, so a universal time or temperature is unreliable. The sequence below explains the workflow without replacing the manufacturer’s directions.
1. Cut and weigh
Cut the base into similarly sized pieces on a secure surface, keeping fingers clear of the blade. Tare the empty heating container on the scale and add the planned weight. Do not estimate weight from a cup of loosely packed cubes.
2. Heat gradually
Heat using the method and intervals specified by the supplier, stirring carefully between intervals where instructed. Stop when the base is evenly melted. Avoid boiling, unattended heating, or adding water to compensate for overheating.
For comparison, CandleScience’s published project uses 454 grams of base and short microwave intervals after the initial heating period. Those are project-specific instructions, not settings for every microwave and base.
3. Leave the first batch unscented
Pouring a plain batch keeps soap making for beginners manageable and gives you a reference for later comparisons. If you choose additives in a subsequent batch, use only materials specifically suitable for the intended soap application.
Do not copy a teaspoon or drop count from an unrelated recipe. Check the base manufacturer’s additive limits and the fragrance supplier’s current instructions, including the applicable IFRA limit. Use compatible weight-based directions and stay within every relevant limit.
4. Pour and leave undisturbed
Pour slowly into the prepared mold. Gentle mixing and pouring reduce trapped bubbles. Decorative perfection is unnecessary for a first attempt, and alcohol spraying is optional rather than an essential beginner step.
Keep the mold level while the soap cools completely. CandleScience advises allowing its example project to set overnight, although smaller molds and different bases may behave differently. Do not force a warm, flexible bar out of its cavity.
5. Unmold and store
Release the fully hardened bars gently. Follow the supplier’s wrapping and storage instructions, protecting the soap from excessive heat and moisture. Melt-and-pour needs cooling and hardening, but not the extended curing period normally recommended for cold-process soap.
Troubleshoot before adding more ingredients
Soap making for beginners becomes easier when each batch changes only one variable. Compare the new result with your plain batch, and keep notes. More fragrance or color is rarely a sensible first response to a problem.
Match the problem to a check
- Bubbles: review how vigorously you stirred and how quickly you poured.
- Soft bars: check cooling time and whether additives exceeded the base’s limits.
- Surface droplets: check humidity, wrapping, and the supplier’s guidance.
- Discoloration: investigate overheating and ingredient compatibility.
Soap Queen’s beginner guide explains that glycerin attracts moisture and that colorants must be appropriate for soap. A material described as “non-toxic” is not automatically suitable for a skin-contact formulation.
Separate a hobby batch from a product business
Successful soap making for beginners does not, by itself, mean a product is ready to sell. Sale requires a separate review of formulation safety, labeling, claims, and the rules where you operate.
For cost planning, pricing handmade products should account for packaging, failed batches, and labor as well as ingredients. The broader hobby-to-business guide explains the planning work that comes after learning the craft.